I start nearly all of my experiments with the same procedure: extracting recombinant DNA from E. coli. In my research, I alter DNA sequences in order to create drugs that target specific types of cells in the human body. As a biological engineer, I stitch pieces of genes into circular pieces of DNA (plasmids) to create new cellular pathways. Though many of the protocols I use in the lab take a long time and have a high rate of failure, DNA extraction is simple, works 99% of the time, and takes less than 30 minutes.
Creating a new plasmid is an iterative process. As I add each new piece to my plasmid, I move the DNA in and out of E. coli cells. The cells act both as living storage and tiny Xerox machines, reproducing the DNA and filling the cells with copies that I’ll use in the next step of the process. I extract the DNA, cut and paste new genes into the plasmid, and insert it back into a fresh set of cells. Eventually I will harvest the complete plasmid from E. coli and transfer it into a yeast or animal cell.
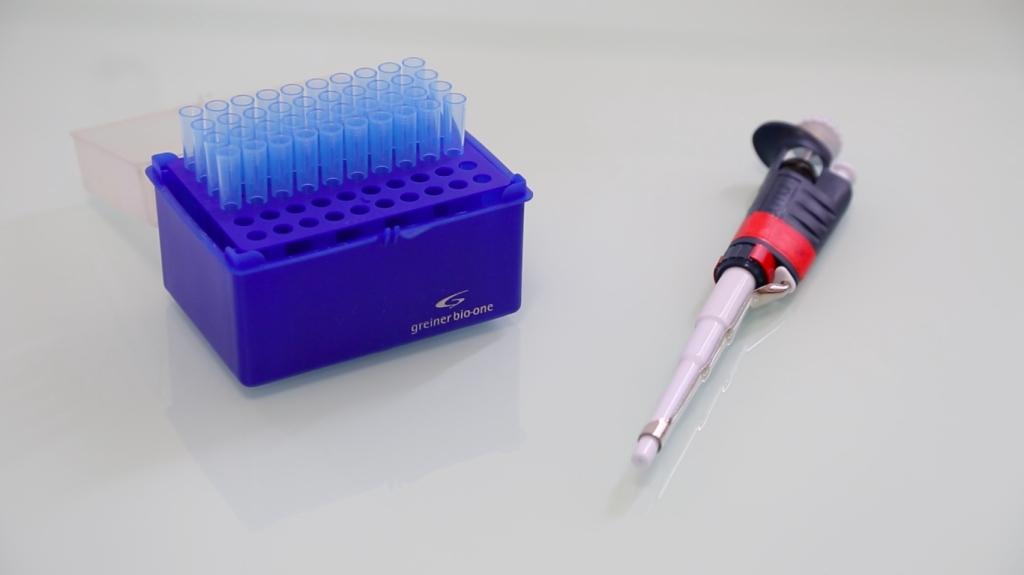
Below is a general protocol for extracting plasmid DNA from E. coli bacteria cells. The overall goal is to separate the desired plasmid from other cellular components (RNA, protein, chromosomal DNA, etc.).
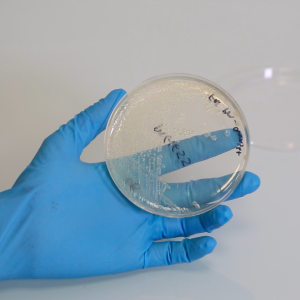
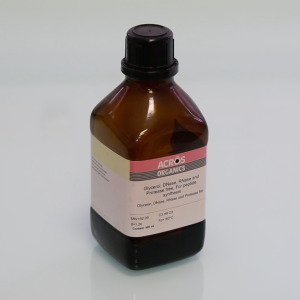
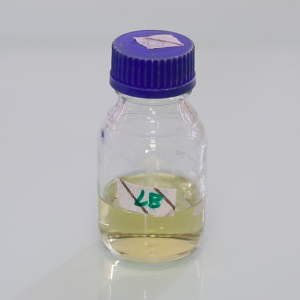
- I either start from a bacteria growing on a petri dish, or from vials of bacteria stored at -80 degrees Celsius. E. coli containing recombinant plasmids are typically stored frozen in glycerol, which serves as a cryoprotectant—just like frozen food, we don’t want our bacteria to get freezer burn. Using a sterile toothpick, I take a little bit of frozen bacteria and put it in a test tube containing Lysogeny Broth (LB; often LB is referred to as Luria broth or Luria-Bertani broth, after the scientists who developed the medium). LB is a rich food for the bacteria that provides them with all the protein building blocks they need to grow.
- E. coli are gut bacteria, so they grow best at a normal body temperature of 37˚C. They also need to be kept shaking at around 200 rpm to prevent them from settling to the bottom and squishing each other. I put my tube of media with the few frozen cells in a shaking incubator and the cells start to grow. E. coli double every twenty minutes; the culture will become cloudy with floating cells within 4 to 12 hours.
- Once the culture is cloudy, I need to separate the cells from the LB. I remove the test tube from the shaker and spin it in a centrifuge until all the cells are pelleted at the bottom of the tube. The cells are all clumped together as a beige pellet at the bottom of the tube, and the LB above looks clear again. The media above the pellet is the supernatant and isn’t necessary for future steps. I pour off the liquid in a waste container.
- The bacteria next need to be resuspended in a liquid that provides the appropriate environment for busting open the cells and releasing the plasmid. Resuspension buffer is typically made at pH 8.0 and contains a buffering agent to help maintain the pH, RNAse to remove any of the cell’s RNA that could get mixed up with the plasmid, and a chemical called EDTA, which absorbs any ions released during lysis that could harm the plasmid DNA. I pipette the cells up and down in the buffer, resuspending the bacterial pellet in enough buffer such that no cell clumps remain.
- After the cells are completely resuspended, I’m ready to bust them open and retrieve the plasmid DNA. This process is called cell lysis: λύση is a Greek word that means “to set free” or “to release.” The lysis buffer is typically alkaline (pH 12.0-12.5), to aid in denaturing chromosomal DNA and protein, while allowing plasmid DNA to remain stable. The two most important ingredients of lysis buffer are detergent (typically sodium dodecyl sulfate) and sodium hydroxide. Detergent breaks open the cell membrane, causing the cells to burst and release their contents. Sodium hydroxide helps denature chromosomal DNA, plasmid DNA, and cellular proteins. After adding lysis buffer to the resuspended cells, I gently shake the tube to mix the contents. I see the mixture turning into something that looks like a glob of snot.
- Next, I add a neutralization buffer—typically a concentrated salt solution such as acidic potassium acetate—to the tube and shake to mix thoroughly. The high salt concentration causes any detergents to precipitate from solution, forming salt-detergent complexes that trap the stuff I don’t want: proteins, chromosomal DNA, and other cellular debris. Under these conditions, plasmid DNA will re-fold properly and remain soluble. To me, this is the most magical part.
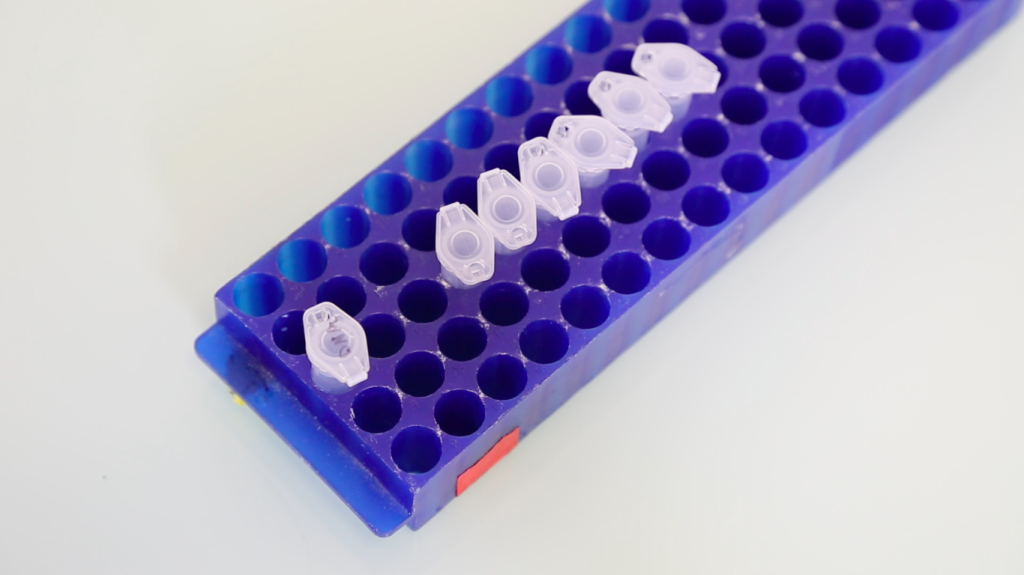
- I spin the tube in a centrifuge to pellet all of the junk I don’t want to the bottom. In this case, the supernatant contains what I want: the plasmid DNA in solution. I use a pipette tip to remove the clear supernatant and transfer it to a clean test tube.
- I add isopropyl alcohol to the supernatant and shake the tube to mix thoroughly. Because DNA is not soluble in isopropyl alcoohol, it comes out of solution and becomes visible. The DNA looks like a floating white tangle of threads that some scientists call the medusa, because it looks similar to Medusa’s head of snakes. Once I see the medusa, I know that I have successfully extracted my recombinant DNA. I centrifuge the tube again to pellet the medusa to the bottom. The supernatant is now just the buffers and isopropyl alcohol, so I pour it off and get rid of it.
- Once the liquid is removed, the DNA can be washed in ethanol to remove any remaining buffers or other residue from the extraction procedure. Once the ethanol is poured off, the DNA needs to be air-dried to remove all the alcohol, which would prevent it from going back into solution again. Once it’s dry, I resuspend the DNA in buffer and store it in the refrigerator or freezer, ready for my next experiment.
